 lsk666666查看:43 回复:3 评论:3 创建时间:2020-05-17T13:48:29
用户:lsk666666查看:43 回复:3 评论:3 创建时间:2020-05-17T13:48:29
【作品展示】
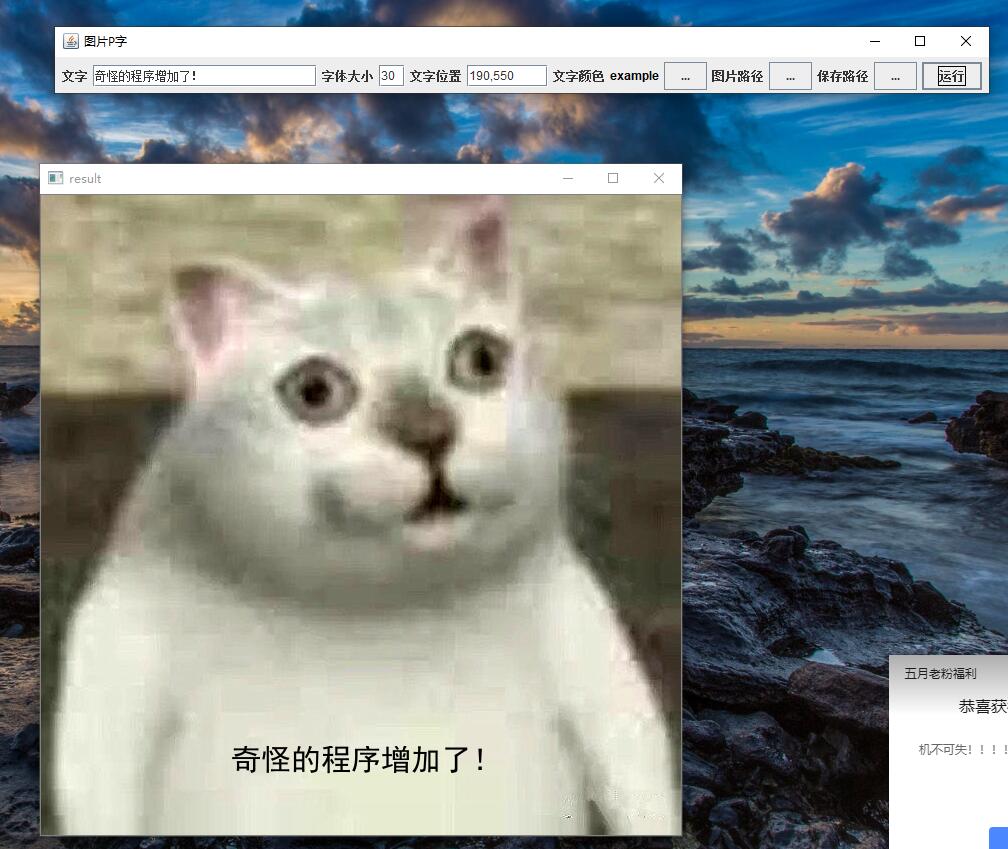
【作品介绍】
用来给一个图片P上一行字,比如这个mur表情本程序是命令行版,上面的是我用java写的启动器
命令格式:
python D://imagewithword.py 源图片的路径 要P上的字 文字的X轴位置 文字的Y轴位置 字体大小 文字颜色的R值 文字颜色的G值 文字颜色的G值 保存生成图片的路径
依赖列表:
opencv
pillow
numpy
【作品源代码】
import cv2
import sys
from PIL import Image, ImageDraw, ImageFont
import numpy as np

sourceFile = sys.argv[1]
print(sourceFile)

word = sys.argv[2]
print(word)

location_x = int(sys.argv[3])
location_y = int(sys.argv[4])
location = (location_x,location_y)
print(location)

font_size = int(sys.argv[5])
print(font_size)

font_color_r = int(sys.argv[6])
font_color_g = int(sys.argv[7])
font_color_b = int(sys.argv[8])
font_color = (font_color_r,font_color_g,font_color_b)
print(font_color)

save_name = sys.argv[9]
print(save_name)

sourceImage = cv2.imread(sourceFile)
sourceImageRGB = cv2.cvtColor(sourceImage,cv2.COLOR_BGR2RGB)
sourceImagePIL = Image.fromarray(sourceImageRGB)

canvas = ImageDraw.Draw(sourceImagePIL)
font = ImageFont.truetype("simhei.ttf",font_size,encoding="utf-8")

canvas.text(location,word,font_color,font=font)

resultImage = cv2.cvtColor(np.array(sourceImagePIL),cv2.COLOR_RGB2BGR)
#resultImage = cv2.putText(sourceImage,word,location,cv2.FONT_HERSHEY_PLAIN,font_size,font_color,2)
cv2.imwrite(save_name+"/result.jpg",resultImage)
cv2.imshow("result",resultImage)
cv2.waitKey(0)
cv2.destroyAllWindows()
【提示】
部分含有Python第三方库相关内容的作品,在海龟编辑器网页端无法运行哦!如遇到这种情况,可以打开下面的链接,下载海龟编辑器客户端:
https://python.codemao.cn